8 Tips for Adding Color to a Portrait
It can be confusing figuring out how to add color to a portrait. Color has such an influence on our mood and it can express an emotion and have a huge impact in our artwork. And it can be confusing how to put a color palette together.
Here are 8 tips for how to use color in a portrait:
Tip 1: Work in Black and White to Begin With
If you are new to portraits, it is beneficial to work in black and white for a while until you learn where to place shadows, mid-tones, and highlights.
Tip 2: Learn Where to Place Dark, Mid, and Light Tones on a Portrait
Learning about tones is the key to creating dimension in a portrait. As long as you have 3 tones, you will be able to create a face that looks round. The more tones you add, the more dimension you can achieve. Light casts shadows on the face and depending on where the light source is coming from, the shadows and highlights will vary. Dark tones tend to be around the edges of the face, the eye sockets, under the nose, lips and chin. Highlights tend to be on the areas of the face that stick outwards like the forehead, bridge of the nose, middle of the chin, cheekbones, and brow bones. Mid-tones are in-between the dark and highlights.
Tip 3: Print out a Reference Photo in Black and White
Print out a reference photo in black and white to see where the tones are. There are also apps you can use like Poster Shine to show you were the tones are.
Tip 4: When Adding Color Tones Matter Most
When it comes time to add color to a portrait, tones are still the key to creating dimension. You can place any color on any part of the portrait as long as the tone is in the right place.
Tip 5: Use Non-Realistic Colors for Ease and Fun
It can be fun to use non-realistic colours for a portrait as it can take the pressure off. I love to use purple or blue for a portrait.
Tip 6: Colors to Use for Realistic Skin Tones
Our skin is made up of different colors including shades of blue, green, yellow, pink, and brown. My favourite colors to use on a portrait for more realistic skin tones are:
red oxide, paynes grey, raw sienna, titan buff, titanium white, and burnt umber
Tip 7: Consider Temperature of Colors
The temperature of the color can matter as well. Every color can be cooler or warmer. Use cooler colors in the shadow areas and warmer colors for lips, corner of the eye, cheeks, part of the forehead and neck, and bottom tip of the nose.
Tip 8: Be Kind to Yourself
Learning to paint portraits takes time. Be kind to yourself in the journey.
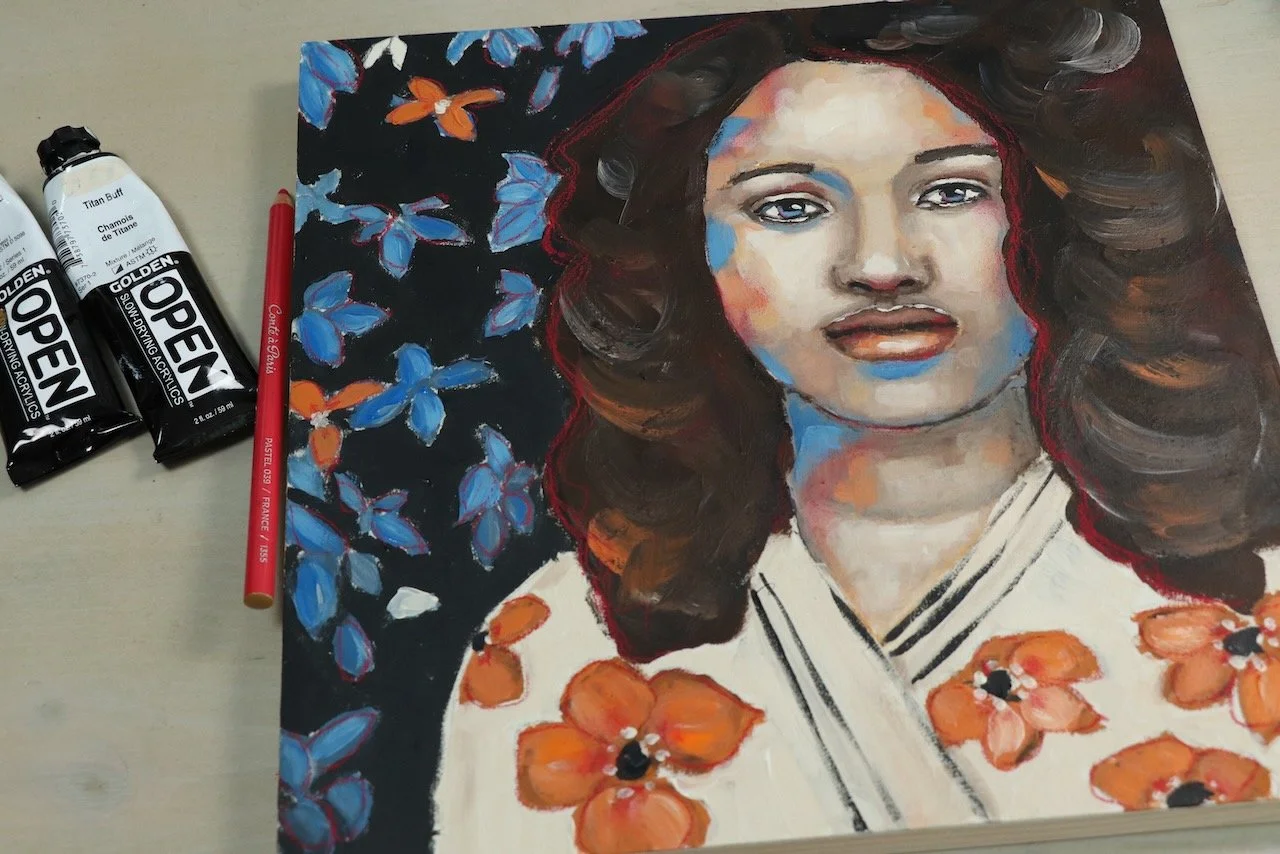
In this video, I show how I added red to this painting as the final touches. See how the painting comes alive with the addition of this third color. And scroll down to see the finished painting.